� 2019 JimVonBaden/JVB Productions
�
R1200 Brake Flush 2007 and newer, and non-ABS.
Caution: This pictorial is for informational purposes only. I accept no responsibility for accuracy, or any damage caused to your motorcycle if you choose to perform these maintenance items.
The R1200 non-servo brake flush is different than the servo brakes, and much easier. It is essentially just like standard brakes, or the pre-servo-ABS BMWs. It is also exactly the same on all BMW Bikes to current bikes.
You simply pump, hold, bleed, and pump again until the fluid is running clear.
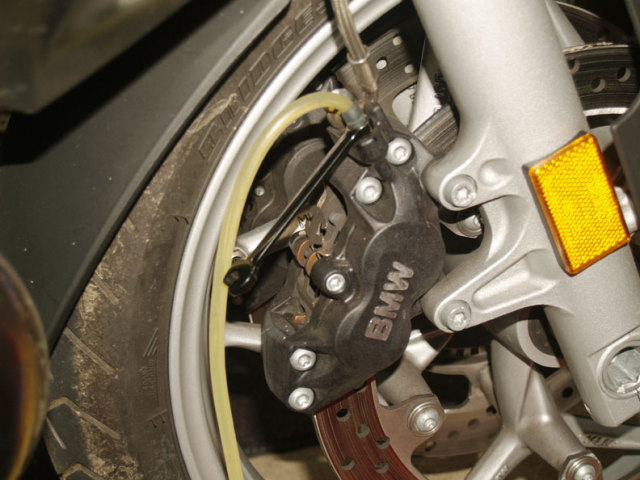
At the caliper, release the pressure by turning the wrench counterclockwise about 1/4 turn. As soon as the fluid is out, about 1 second, close the bleeder.
Now pump the handle, hold and repeat until the fluid comes out clean!
On the front, do it on the other side the same way!
Now pump the handle, hold and repeat until the fluid comes out clean!
On the front, do it on the other side the same way!
Check the fluid level to make sure it is about center bubble like this.
Install the wrench as on the front, then the hose and bag, and you are ready to do the rear.
The procedure is the same. Pump the pedal until you have pressure, release the pressure on the line with the wrench cracked open about 1/4 turn, then tighten it after the fluid flows. Keep doing this until the fluid flows cleanly, and you are done. It usually takes 2-3 fills to get all the old fluid out.
The procedure is the same. Pump the pedal until you have pressure, release the pressure on the line with the wrench cracked open about 1/4 turn, then tighten it after the fluid flows. Keep doing this until the fluid flows cleanly, and you are done. It usually takes 2-3 fills to get all the old fluid out.
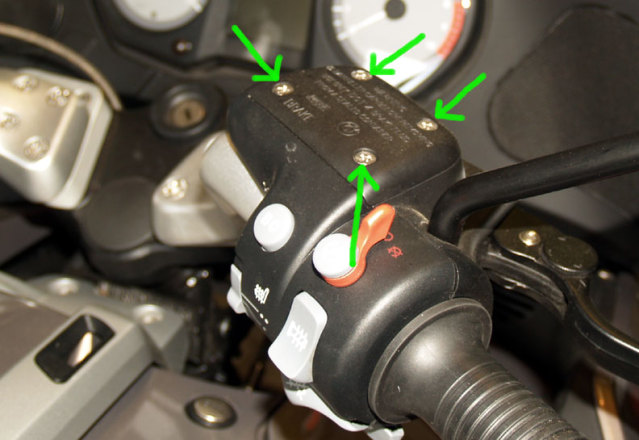
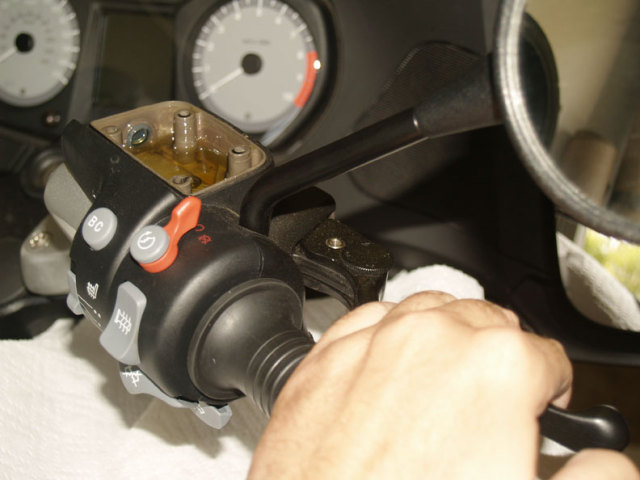
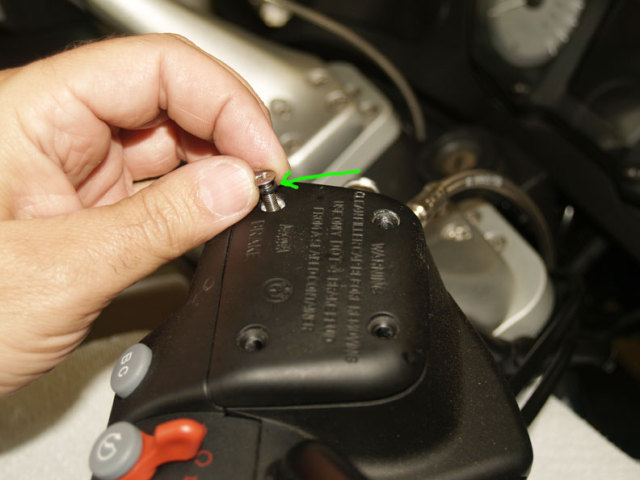
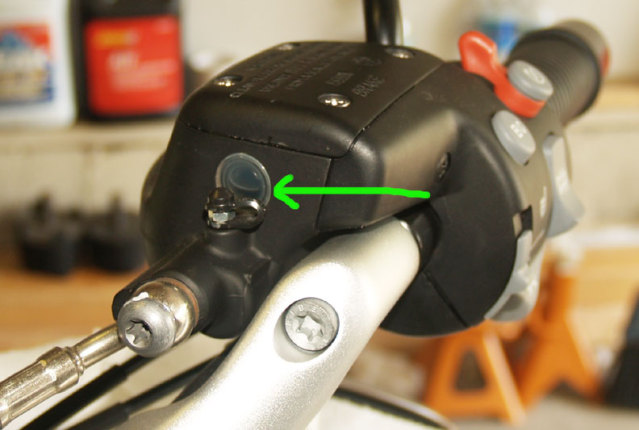
The front master cylinder on the RT has 4 screws.
On the GS, R, ST and S it is just the cap.
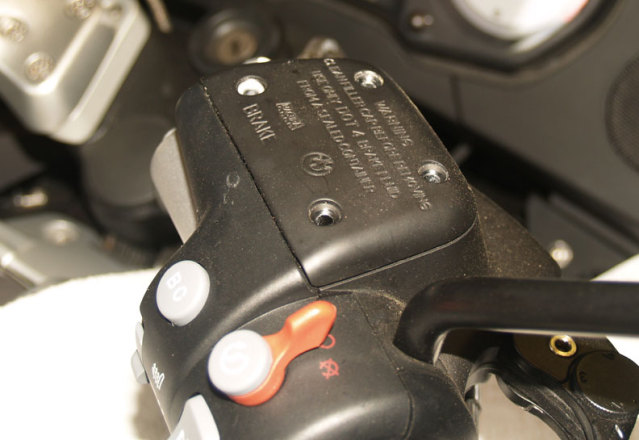
Remove the screws, and be careful not to strip the heads.
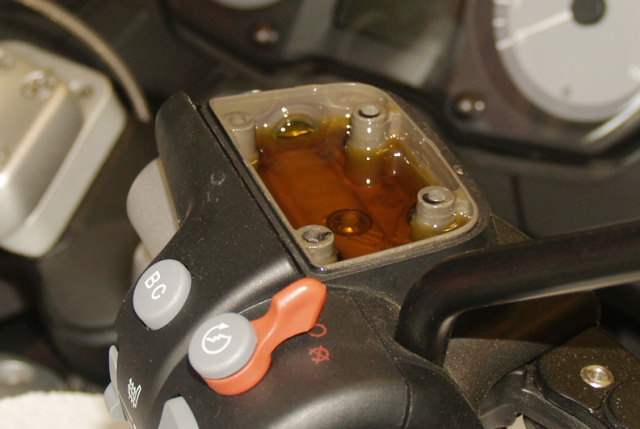
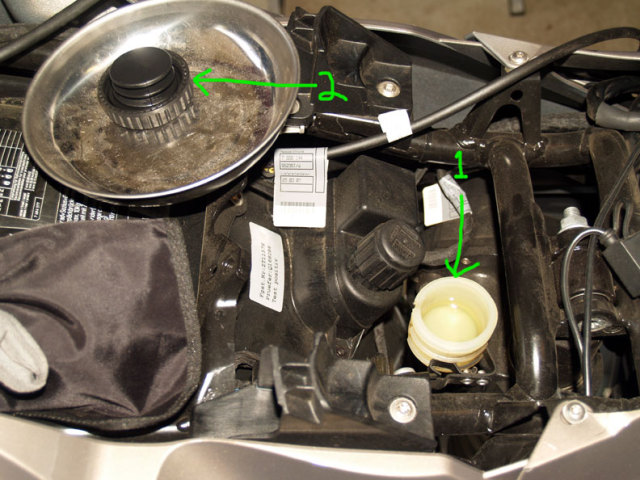
Here is the old fluid, it is fairly yellow, though that could be because the original fluid was darkish.
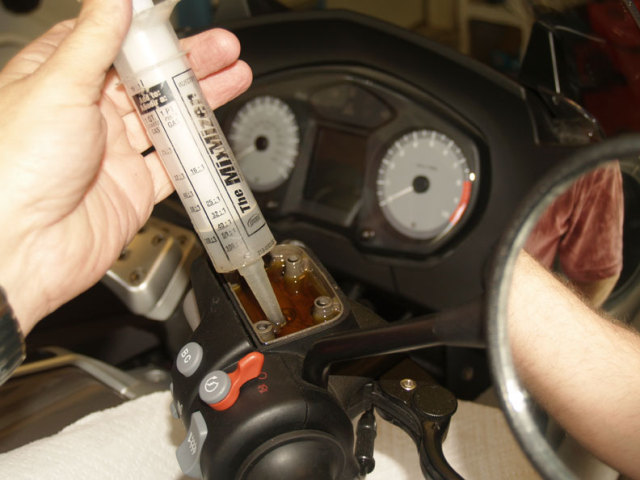
Draw out the old fluid with a syringe. It is not absolutely necessary, but reduces how much you must flow through the system to get clean fluid.
Notice I have paper towels under the master cylinder? Be sure to protect your paint from drips and squirts.
Notice I have paper towels under the master cylinder? Be sure to protect your paint from drips and squirts.
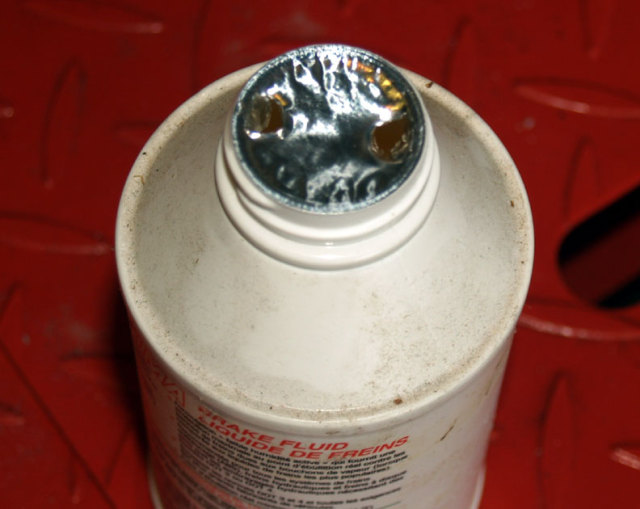
Open the new bottle, and puncture the foil like this. It helps to poor the fluid cleanly, and keeps out dirt. Best to use a clean bottle!
Add new fluid up to near the top of the master cylinder. Float a clean bottle cap in the reservoir to prevent fluid from squirting out.
Put the cap on when not in use, and toss out any old fluid if not used within a few weeks. Also, unlike the picture, wipe all the surfaces around the brakes, and the bottle, to reduce contaminates.
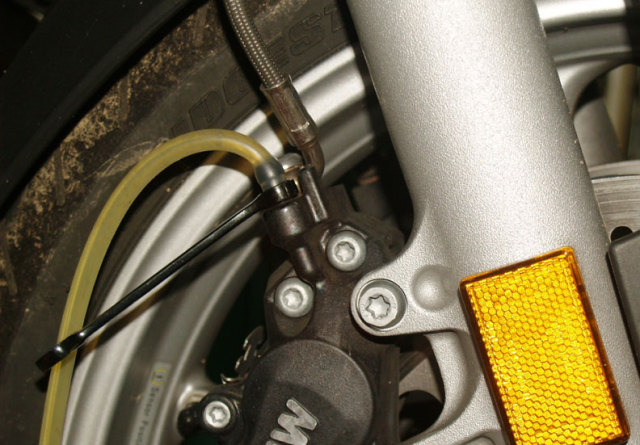
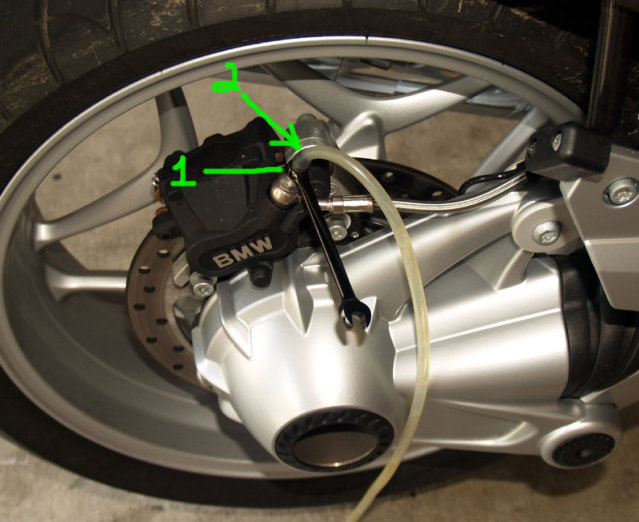
Put on the appropriate wrench (9mm in this case) and install the bleed tube.
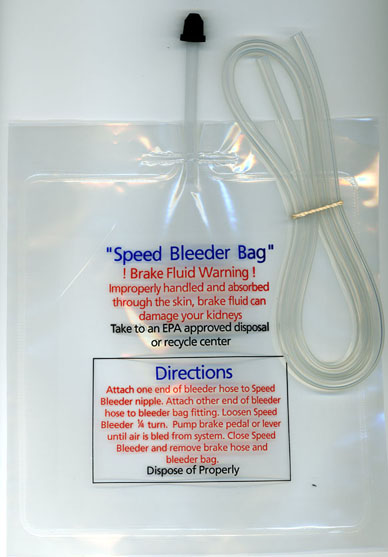
I use Speed Bleeder Bags to make sure I don't make a mess, and to help insure I don't draw air into the system.
Here is a link to the site to buy them: Speed Bleeder Bag
I use Speed Bleeder Bags to make sure I don't make a mess, and to help insure I don't draw air into the system.
Here is a link to the site to buy them: Speed Bleeder Bag
Double click to edit
Pump up the brakes, then hold the handle firmly, don't release it yet.
Make sure you protect the painted surfaces from brake fluid, it can squirt out of the master cylinder when pumping the handle.
Make sure you protect the painted surfaces from brake fluid, it can squirt out of the master cylinder when pumping the handle.
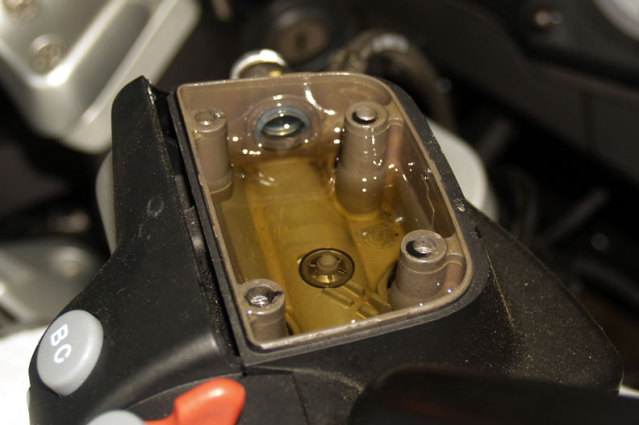
Make sure you do not let the master cylinder run dry. You will have to fill it 3-5 times to do the front brakes. When the fluid is running clear, add more to about this level, then reinstall the cover.
Again, watch for dripping fluid, and make sure the seal is clean.
Again, watch for dripping fluid, and make sure the seal is clean.
Install the screws for the lid, and note that the left rear one has an O-ring on it. Tighten to about 4nm, just snug.
The rear is done about the same way. Remove the lid, draw out the excess, add clean fluid, and you are ready on top.
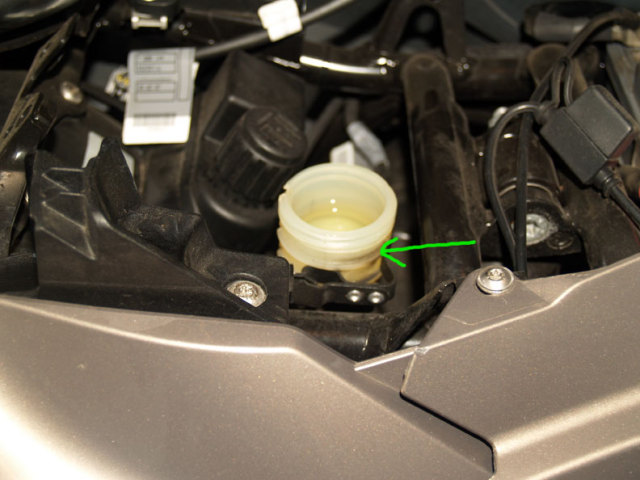
Fill to the upper level line, install the cap, and you are done!
Very easy compared to the servo-ABS systems.
A few notes:
*I usually remove the calipers and shim them to ensure the pistons are pushed all the way in. This will make sure you get ALL the dirty fluid out. This owner was fine with not doing it.
*You do not need the Speed Bleeder bags, though it helps. You do need a hose (1/4" by 2' long) and drain into a bottle.
*Some people like the Speed Bleeder valves, but I find them unnecessary and they have been known to be fragile.
*Be very sure to not get brake fluid on your painted surfaces, it will ruin your paint.
There is no direct fluid connection from to rear, so don't worry about cross contamination.
*Test your brakes before you go off riding.
*You can either squeeze the two tabs simultaniously, or wrap some string or fishing line around the cap at the groove below the lid to pull the tabs in, the twist off the cap on the R1200GS and R.
Jim
Download a PDF of this process!


JVB Productions
Motorcycle Maintenance and Repair Videos