� 2019 JimVonBaden/JVB Productions
�
R1200 Wave Rotor Install:
Caution: This pictorial is for informational purposes only. I accept no responsibility for accuracy, or any damage caused to your motorcycle if you choose to perform these maintenance items.
A while back my friend Kermit discovered his rear rotor was out of spec, spec being 5mm-4.5mm, his was 3.75mm. So we decided this would be a good opportunity to film a rear rotor change.
He ordered up a wave rotor and pads, Galfer in this case, and we were off.
I apologize ahead of time for missing some shots. I was spending so much time filming that I forgot to take some of the pictures.
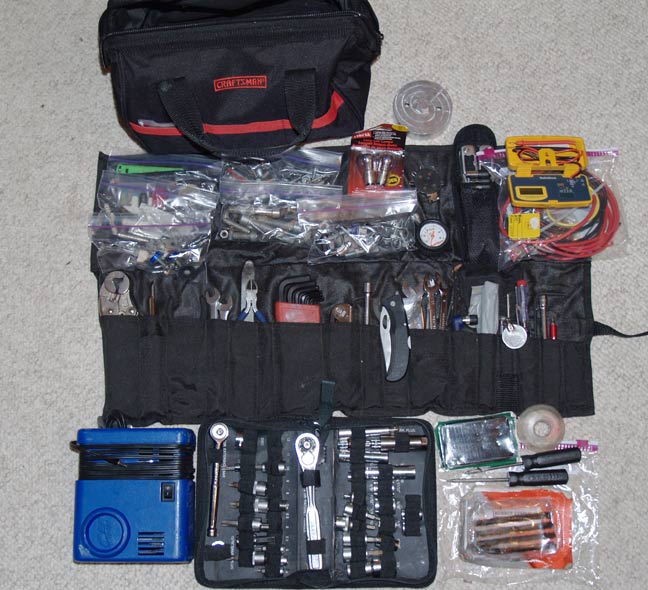
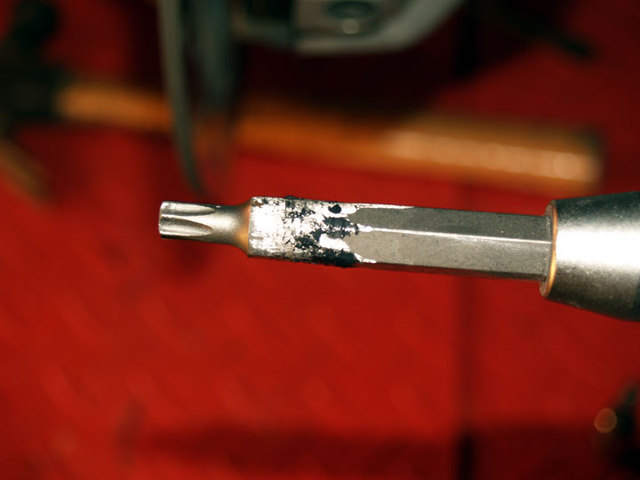
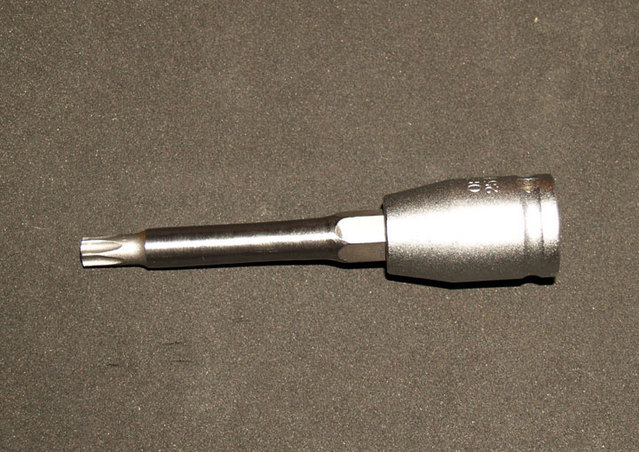
The first thing we discovered is that you can�t use a standard Torx socket because the shaft would be too short, the drive part caused the angle to be too great, nearly guaranteeing a problem with slipping and damaging the bolts. It turned out the minimum length of the shaft would be 2.5� to clear the housing. Even with that, the shaft of the Torx T-40 needed to be turned down to clear. I did a quick kit with the Dremel and made one that worked.
Later Kermit turned it further down. This came in handy recently when we changed his rotor again!
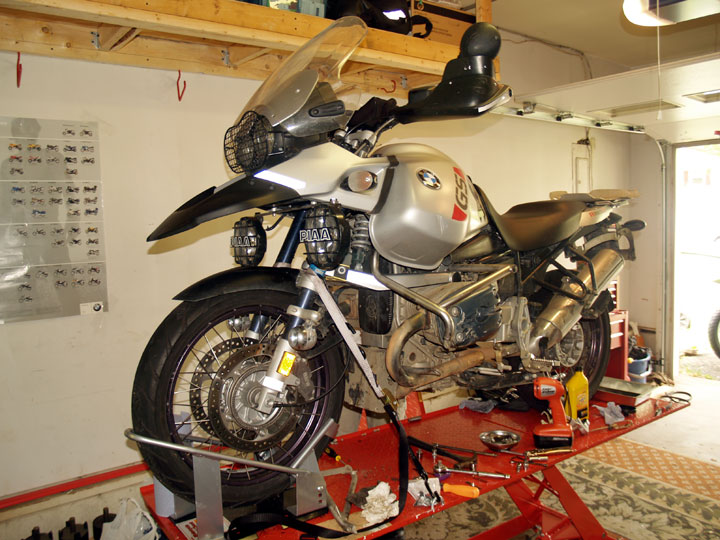
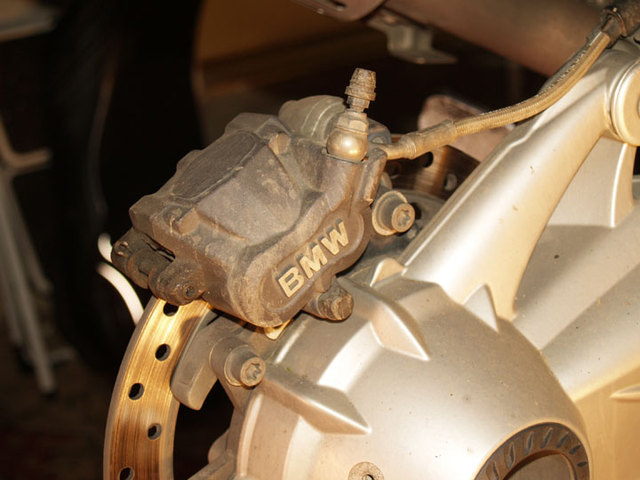
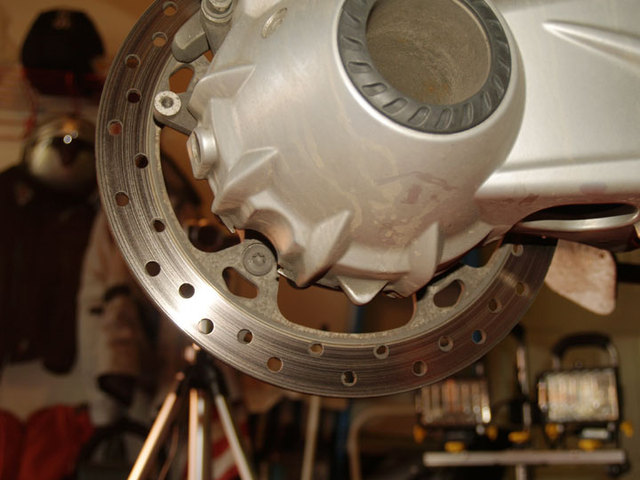
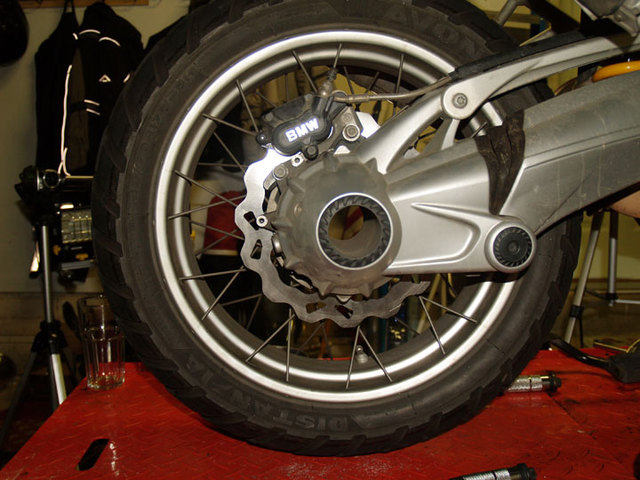
First remove the wheel, and rear mud deflector, if equipped. Then remove the two T45 Caliper bolts and pull the caliper off. We hung it with a mini-bungie.
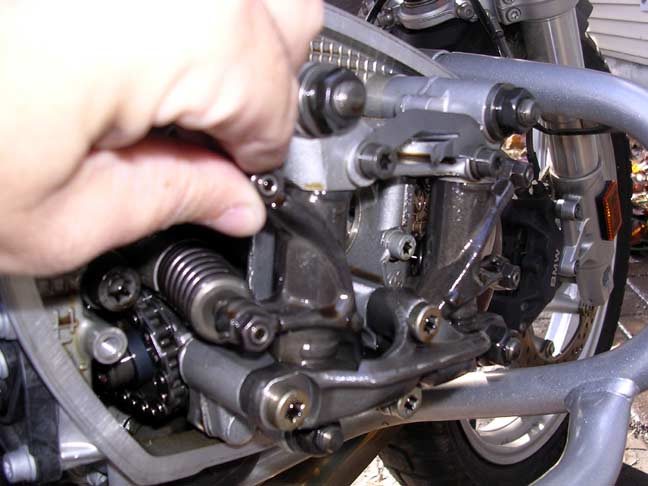
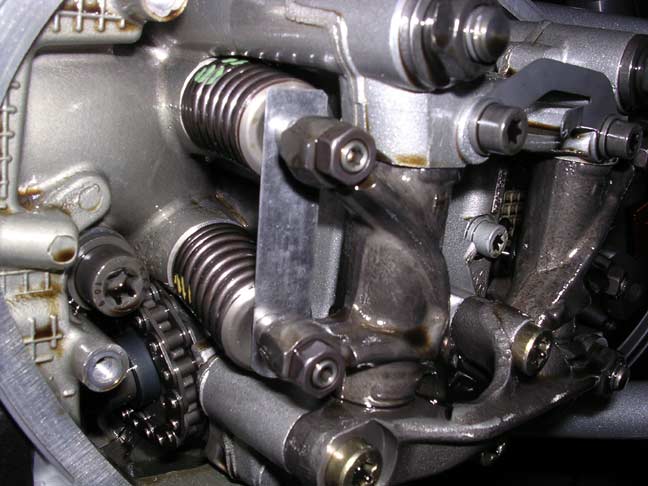
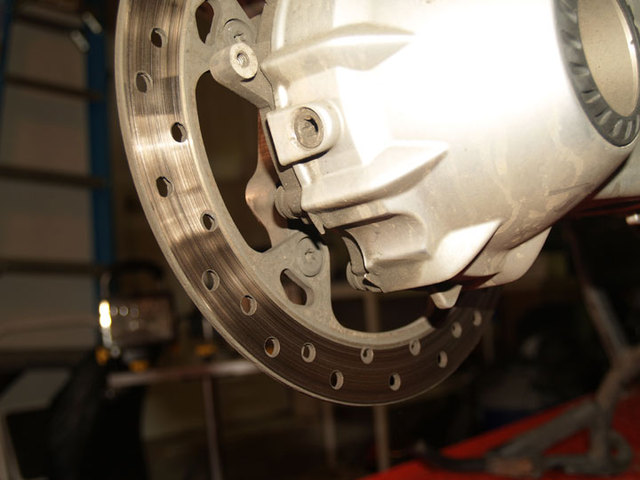
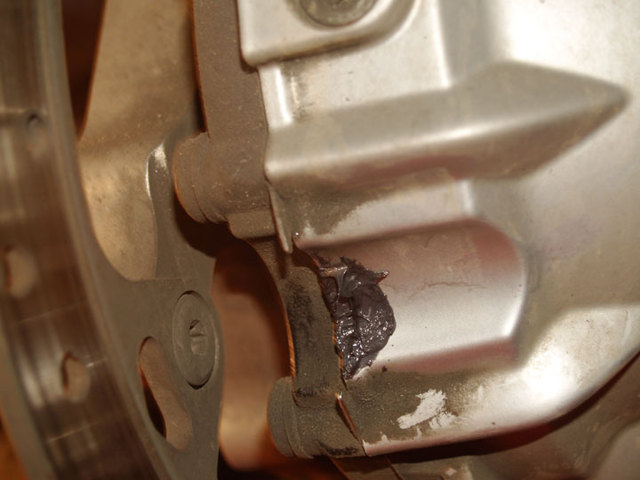
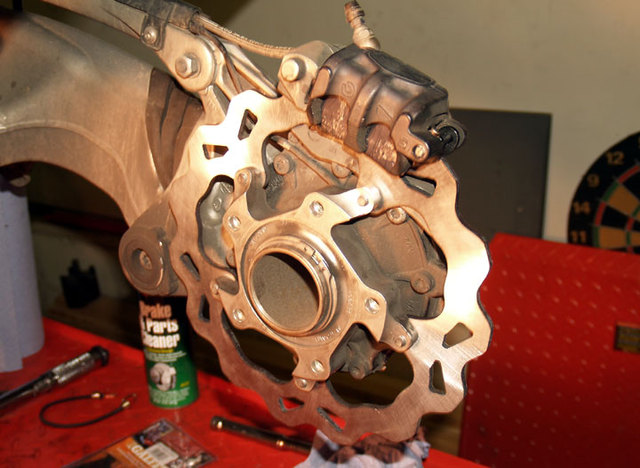
Then we rotated the rotor to shove a bolt through the gap in the FD.
A close-up of the notch shows how we added a little grease to protect the FD paint. (Turning down the Torx even further will eliminate the need for that!)
A little closer look. (Here is where I get lazy and forget to take photographs along with the film I shot)
We removed all five bolts and pulled the old rotor.
We then cleaned the holes with a dental pik, and bolts with a wire brush, then applied blue Locktite. (On the RBMW Repair CD there are different requirements. Some say replace the bolts and some not too, we chose not to.) We also inspected the structure of the mounting flange since there have been a few reports of cracks at the holes. Nothing here.
We then torqued them to 30nm, pretorque at 12nm.
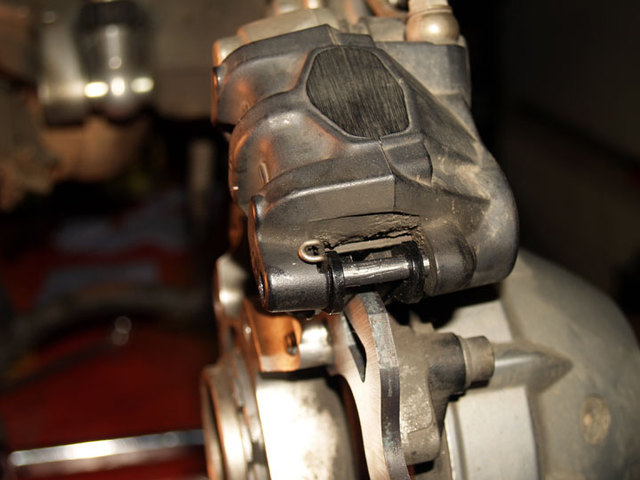
After that we installed the new brake pads, cleaning and lubing them and the pin with brake grease, and torquing the two T-45 Torx bolts to 24nm. Then we reinstalled the wheel and torqued it to 60nm.
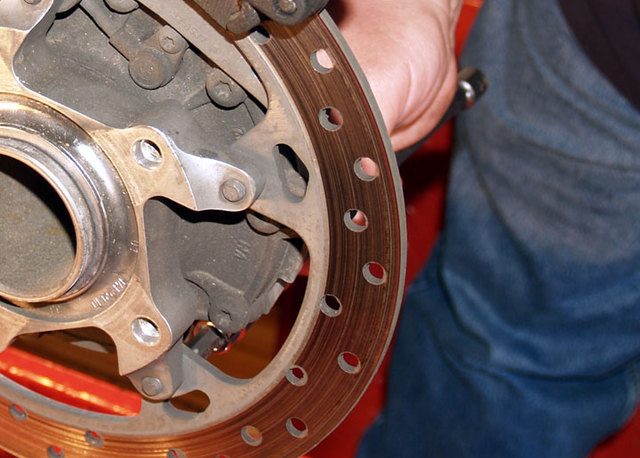
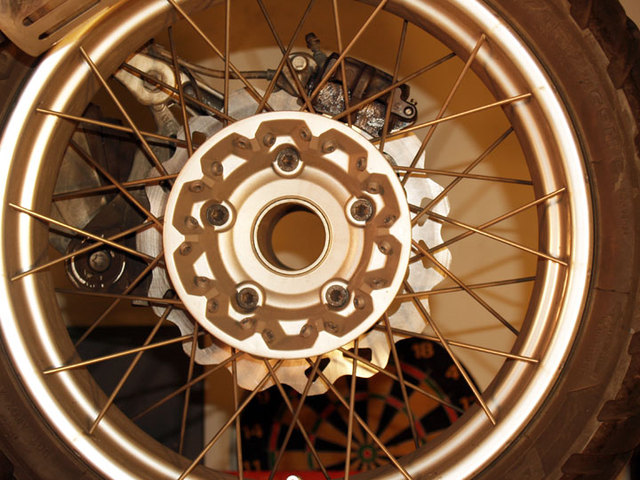
Here are some shots of the new rotor and pads.
We then torqued them to 30nm, pretorque at 12nm.
After that we installed the new brake pads, cleaning and lubing them and the pin with brake grease, and torquing the two T-45 Torx bolts to 24nm. Then we reinstalled the wheel and torqued it to 60nm.
Here are some shots of the new rotor and pads.
Kermit has several miles on it so far and reports that it works just like stock with no noticeable differences.
Since this install Kermit has run about 35K miles. This rotor has not held up like he had hoped, it may have been the Galfer pads wearing it fast, and he and I installed new BeamerBoneyard New Rotors front and rear. Easy install, and looks to be high quality for a fraction of BMW OEM parts.
Jim
Download a PDF of this process!


JVB Productions
Motorcycle Maintenance and Repair Videos